Showing posts with label altered project. Show all posts

Monday, March 18, 2013

Quick Quotes Altered Canvas Mini

Hello out there!  It has been a while since my last post, so it's time to share a project with you.  This one was very special.  My niece lost a very dear friend and had very few photos of him, so I put together this little canvas kit from Quick Quotes for her to look at whenever she was missing her friend.
All the chipboard pieces (in silver) were inked up with Silver Metallic Stazon.  After the ink was dry, Tim Holtz Fabulous Flourishes stamps were used on the page tabs and black metallic paper was placed behind the cut-out letters.  The chipboard photo frames were done in the same technique, using a  stamp from Hot Off The Press, Artful Collection. A close-up is below.


Inside Pages:


A closer look at the metallic ink with the stamping.

The entire project was inked with Quick Quotes Midnight Confession Powder Puff Chalking Ink.

Thanks for stopping by the blog today!
Be Inspired!
Jules

Product Links:


Sunday, November 25, 2012

Crate Paper Acorn Avenue Tag Book

Hello blog friends!  It's time to share an altered project completed for the Scrapbooking Studio in Bloomington, IL.

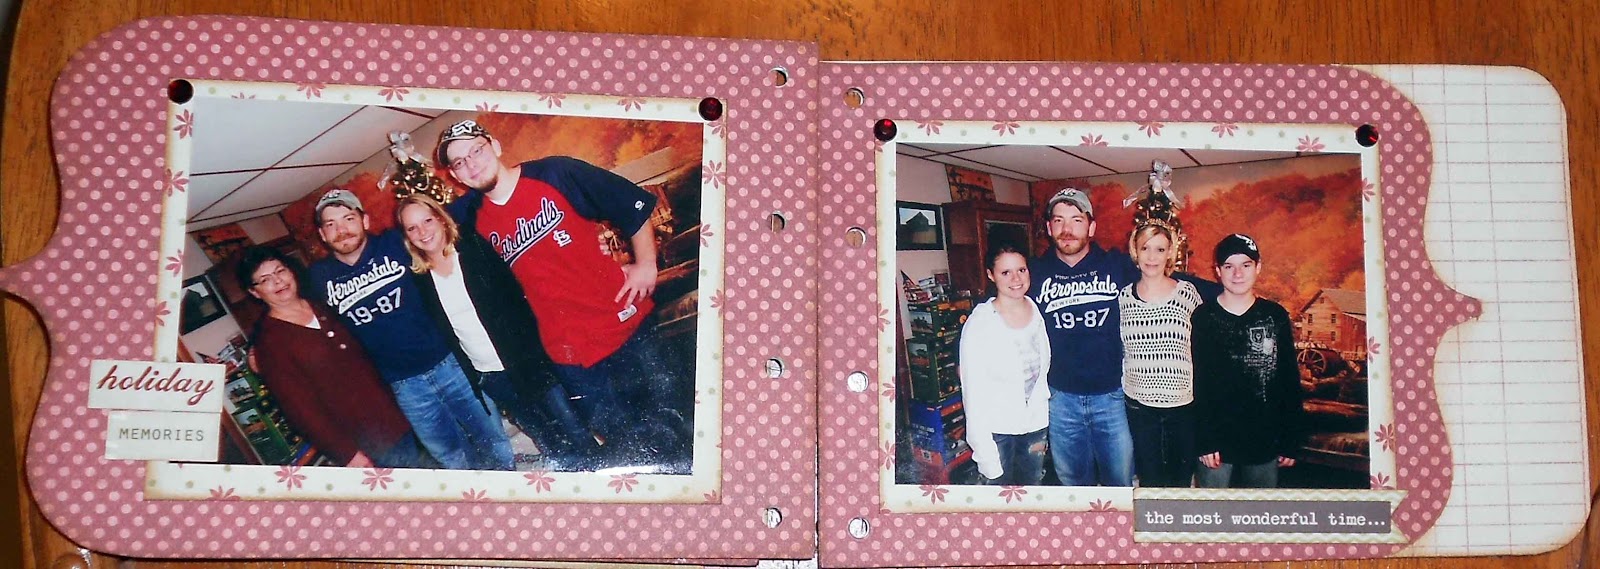
Up today is a little tag book  loaded up with some fun photo booth shots taken at daughter Allison's wedding.  Also used were some coordinating adhesive-backed chipboard, stickers, border stickers, paper flowers, all from the Acorn Avenue line, and cream burlap ribbon.  Vintage Photo distress ink was used on all the papers and embellishments.


The book title was made from the logo on the photo strips and backed with card stock.


The photo mats are Maya Road kraft paper calendars; there are also some Maya Road kraft and clear mini tickets tucked in.


 As you can see, just like the entire paper line, there are bits of 'randomness' all through the book!


All of these items are available at The Scrapbooking Studio!  Stop in today!

Be Inspired!
Jules


Saturday, November 3, 2012

Teresa Collins Christmas Cottage Photo Album

Back today with another Teresa Collins project for the Bloomington Scrapbooking Studio!

This is really not a mini-book!  It is a photo album with a few embellishments on each page...It started with a Basic Grey chocolate album from a bargain bin at the Scrapbooking Studio in Moline!  I used five of the ten chipboard pages to create the album.

Each page was covered with patterned paper, then trimmed with a pen knife.

Chipboard and die cuts, Prima bling, a few banners, a rosette and some stickers adorn the cover.  Some of that beautiful red gathered tulle ribbon was tied onto the binding rings.


The inside pages are simply mounted photos with some journaling, gems from TC Fabrications line, die-cut and chipboard phrases and stickers.


and...a little trick I used to make it appear that every other page of the album was dark, light, dark, light:  The back page was the dark red with polka dots, so a piece of cardstock was hand cut as an edge for the back page, so that when the book is closed, there is more symmetry with the colors.  Yeah, I know, I am a little picky...


I hope this album inspires your next project!

Be Inspired!
Jules


Sunday, September 23, 2012

Wedding Table Decor...

...Done  with a week to spare!  Looks like a bunch of tents stacked on top of each other, huh?


Okay, this is what they really look like.....twenty-five table numbers and two each of the cupcake flavors ~ Wedding Cake and Peanut Butter Cups ~ YUM!


Close up of the table numbers...


Close up of the cupcake flavors...


They needed a little bling from Recollections and Martha Stewart.

To make these the Tie the Knot Cartridge, Cricut Expression and Gypsy were used.  First, the numbers and their shadows were laid out on four mats on the Gypsy.  After figuring out the sizes for the mats under the numbers, a shape was found and altered to the exact size needed by unlinking the aspect ratio.  The same was done with a card shape for the "tents."  Glue it all up and bring on the bling!

The font used for the cupcake flavors is CK Renaissance.  This project really did not take all that long to set up...maybe 1-1/2 hours total; then two hours or so gluing everything together.

All the colored card stock was inked with Distress Inks in Dusty Concord, Shaded Lilac, Barn Door, Mustard Seed, Rusty Hinge, Peeled Paint, Pine Needles and Forest Moss.

This is the newest version of the Cricut Expression:


Saturday, September 15, 2012

BoBunny Apple Cider Altered Project

Happy Saturday Bloggers!  Up on the blog today is one of the design team projects for September from The Scrapbooking Studio in Bloomington.  BoBunny Apple Cider papers and Butterscotch Acrylic Paint Dabber from Adirondack were used on this month's projects, with a few extra goodies from my stash!

The paint was used in this project on the spool and the metal Tim Holtz word stick and philosophy tag.  The word stick and philosophy tag were hung on a trinket pin with jump rings and attached to the photo mat after punching two 1/16" holes.

  The photo is matted with black, and then orange Bazzill card stock.  The "stick" was a strip of patterned paper wrapped around a piece of 16-gauge wire that was laying around in my scrappy space. :)  It was glued between the card stock layers for extra dimension and to give the back of the project a finished look.

All the papers were inked with a blending tool and Rusty Hinge Distress ink.


The top of the spool was covered with patterned paper and a Tim Holtz reinforcer.  The spool was wrapped with brown baker's twine and glued to a chipboard apple from the paper line.

Here is a close-up of the sticker, matted on black and foam taped on orange ovals.

Stop by The Scrapbooking Studio today to get your BoBunny supplies!

PS.  The lil' Pumpkin is my adorable grand-nephew, Logan.  What a cutie!  He now has a new brother, so they will provide more fodder for some future projects!  Megan, send pics!

Stop by soon for some more BoBunny inspiration!
Be Inspired
Jules

Friday, August 31, 2012

Octagon Origami Box & a Tutorial!

Hello fab bloggers!  Here is a challenge for you today and a really, really long, picture-filled post!  Last weekend, at Quick Quotes Private Reserve in St. Louis, there was a make-and-take to create this box.  I did not participate in the project, but loved the results.

Being the curious one that I am, I searched the internet for a box that looked similar to the ones created in St. Louis.  This is the video link I watched to create this box!  Click here.  There is no audio instruction, but it was enough to get it with a little practice!

This is the finished box. 

To take this challenge, you will need 16 squares of paper, exactly the same size.  I used origami papers for this project. These are 6 x6.  Follow these steps for all sixteen squares.

 Start by folding diagonally, both ways, then vertically and horizontally, creasing each fold well before going to the next fold.

Next, fold 3 corners into the center. Unfold the left fold and flip over.


It should now look like this.

 The paper is turned so that the point that was unfolded is at the top of the photo (left).  Bring the bottom point up to the horizontal score line.  The photo to the right is the same as the left photo only the point is now facing left.  The right side should now be folded toward the left point up to the next score line (about an inch) and then unfolded.

Ready for the next fold. Grab the top outside edge and line it up with the diagonal white edge next to it.
 see how it lines up?  Crease well.
 Now it looks like this.
 Bottom edge now is folded up to meet the top edge.  The crease should be at the left point across to the center right.
 Now it looks like this.
The bottom white edge is now folded upward to line up with the diagonal orange edge.
It should now look like this.
Hopefully, between watching the video and looking at the still photos, this will be clear.  The next step is opening the piece.  From the top edge, pull the paper toward you.
 When it is opened, it looks like this, kind of a pie wedge with a funky tail...
 In this photo, I unfolded the center.  The long skinny triangle part seen just to the right of the longest crease may be glued at this point.  Use dry adhesive.  Fold it back again to look like photo above.
 After you make 15 more of these, it does get easier!  Promise!  Now you are ready to assemble.  Eight pieces are needed for the top and eight for the bottom.  It is probably a good idea to assemble without adhesive first.  Once you see what the finished project will look like, then go in with adhesive.  Adhesive was placed on the left of each piece.
 Pull back the flap on the right side of one piece and insert the left side of the second piece, all the way to the next fold.
 It should look like this.  Continue adding pieces until you have eight assembled.  The eighth one is inserted both to the left and to the right.
 The inside should look like the next two photos.
Now, do the same assembly for the bottom of the box.

When it is flipped over, it looks like the photo below on the outside.

Here it is all embellied.  I added octagonal pieces of white chipboard cut on the Cricut with George and Basic Shapes at 5.75" (not pictured)

The harvest scene is a Dazzle Sticker from Paper Wishes Happy Harvest Stickers, mounted on kraft resist cardstock, colored with Smooch Ink, matted with dark brown, then pearlized green cardstock.  Vintage Photo Distress Ink was  blended on the edges.

 A triple loop satin bow was made with Becca's Peg Bow Maker and a button was added onto the "wheel"  of the wheelbarrow.


 This is another box I made, using 2" squares of 7gypsies "Trousseau" paper and pink string pearls from The Scrapbooking Studio.  Even the flower and the bow were made from the paper!  This teeny little box would be great to hold a pair of earrings or a piece of chocolate...hmmm, which do I like better?


Anyway, sorry for the long post, but I just had to share that I could make this work, and you can, too!

Until next time, BE Inspired!  Jules