Showing posts with label design team project. Little Yellow Bicycle. Show all posts

Sunday, March 18, 2012

Little Yellow Bicycle Card

 Hello Fabulous Bloggers!  This is the 3rd installment of the March design team projects for The Scrapbooking Studio/Moline!

This is a step card which was modified from a larger version to accomplish the same look.  A Spellbinders Nestabilities die was cut, embossed and chalked, then layered with a de-bossed sticker to create the focal.  The striped background was hand made from strips of all the Little Yellow Bicycle patterned papers ~ quite an undertaking, but I was really pleased with the end result!
A de-bossed sticker and ticket completed the inside.

These projects really challenged my creativity and I am looking forward to creating something fabulous next month!  Thanks for stopping by the blog today...and Be Inspired!  Jules

Saturday, March 17, 2012

Little Yellow Bicycle Layouts

 Hello Bloggers!  Post number 2 of 3 for The Scrapbooking Studio/Moline here for you showing some more of the Little Yellow Bicycle and Maya Road product goodness I received to work with this month!  I just love this background page for these engagement photos of my son and now-daughter-in-law!  The page was actually designed around the great elements printed on the paper!
See that title lettering?  It started out as naked chipboard, painted white, then stamped with red Stazon using a flourish stamp.  Pins were added at each end of the title block for some added dimension.
                                                     A detail shot...
 The paper had a stitch pattern printed in white.  The red eyelets and red/white twine made it pop off the page and then I thought it needed "Two Tickets to Paradise" since it was their engagement, after all!
 The edges of the brown photo mats were stamped in Azure Stazon with a flourish stamp and the red and white paisley mat was corner punched for a little elegance...
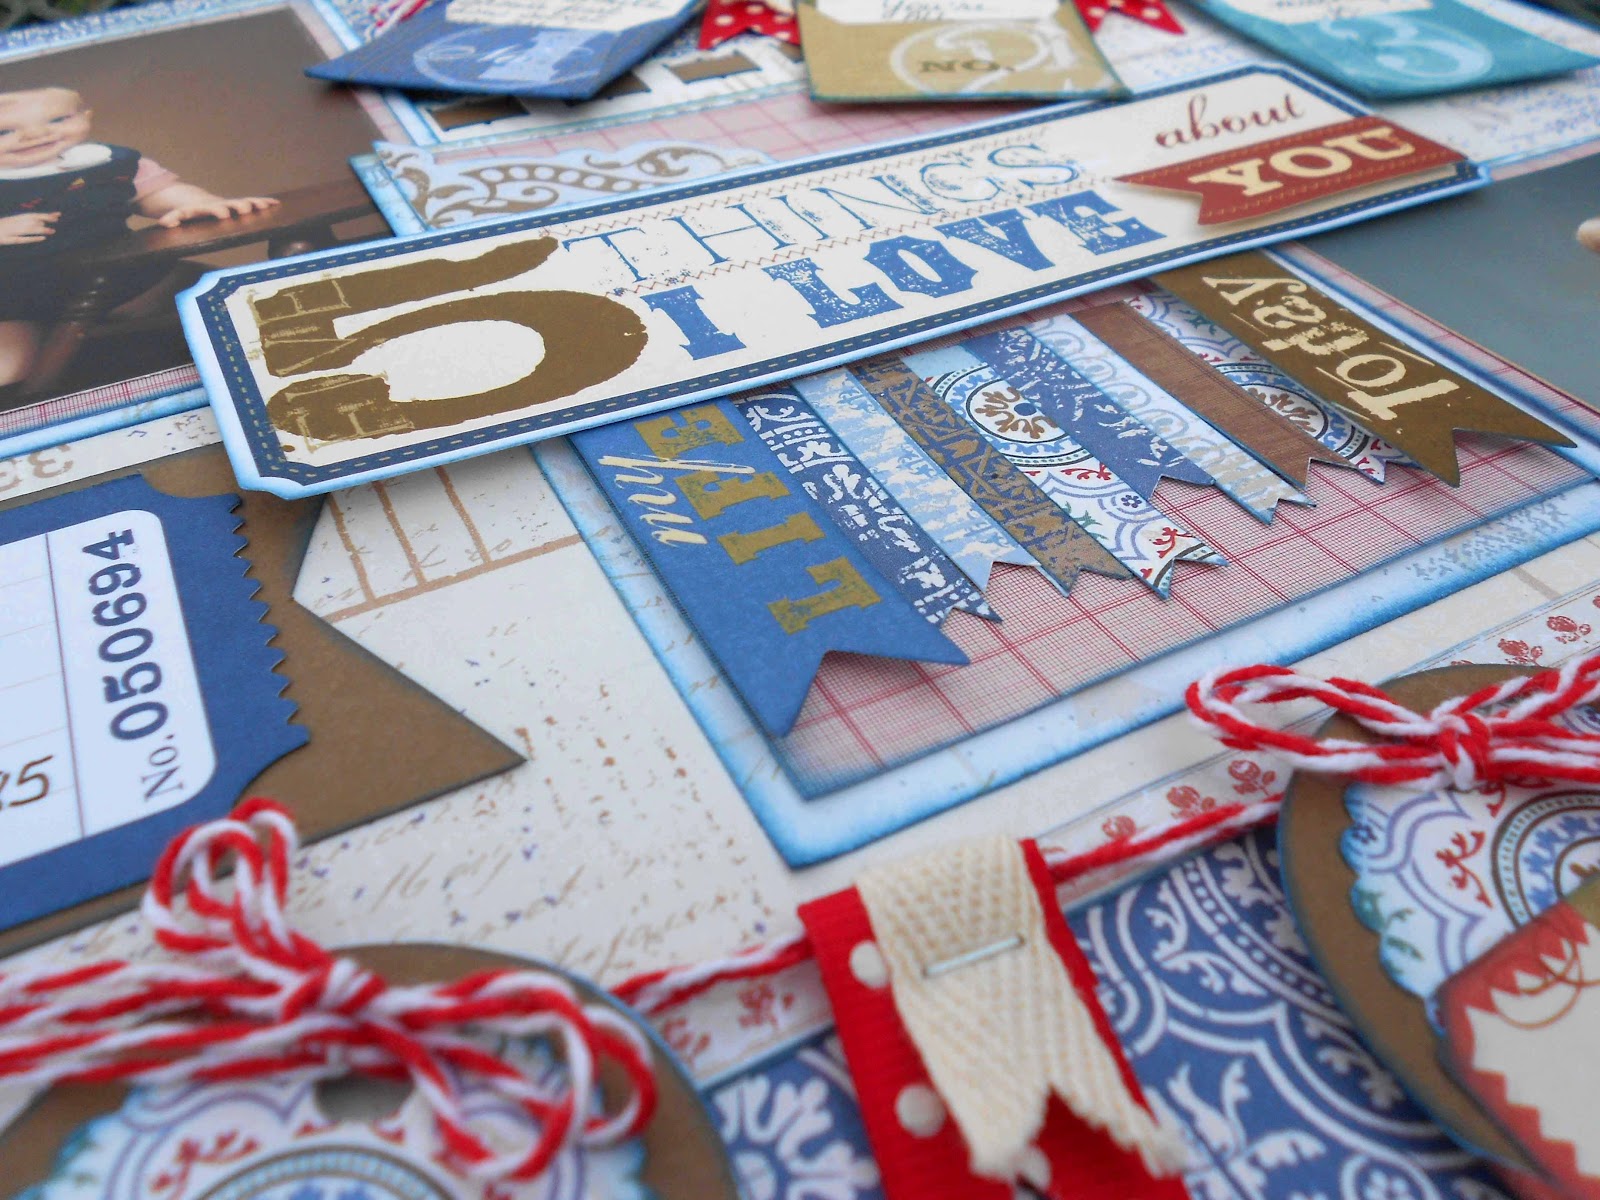
 The next layout was the same son as the layout above, only he was ONE YEAR OLD!   I loved working with the "5 Things" stickers and envelopes ~ they were so much fun and it gave me a great opportunity to express how I feel about him at this age.
 The envelope journaling stickers were just screaming to become a banner, so I figured out a way to make it work on the page.  The insides of the envelopes were plain white, so 1.75" circle and 1.5" scallop circle punches were used to layer brown and patterned papers onto the envelope flaps.  Ribbons were layered and stapled to the banner and added under the mini rosette, which was created with a 3/4" strip, scored every 1/8" then edge punched and inked blue.  The rosette was glued to a larger scallop punched piece and topped with a de-bossed circle sticker.
And lastly, a detail shot of the center treatment.

Thanks for stopping by today!

Be Inspired!  Jules

Friday, March 16, 2012

Little Yellow Bicycle Matchbook Mini

 Hello Fabulous Bloggers!  Today I am sharing the first of three design team projects for The Scrapbooking Studio/Moline.  Here are some detail photos, showing some of the adorable Little Yellow Bicycle Saturdays paper and embellishments: Felt flowers, pins, de-bossed stickers and tickets.  The tickets were packaged  matchbook-style, so the packaging was "altered" to make this mini ticket album!
This was a FUN project!  Also included are the Kraft paper clock, frames and clear ledger elements from Maya Road

 This is a close up of the pins - they were bent to give a little more dimension.  The frame backing the Dream diecut sticker and the left flap of the mini were embossed on the Big Shot with a Sizzix strip and embossing folder.


 Inside cover-the floral spray was altered with blue ink and then vintage photo distress ink.  The ribbon was altered with blue ink.


All the photo mats will hold a 2.5 x 2.75 inch photo and were punched with a 1/2 inch circle punch on the corners to give the appearance of tickets.


Maya Road oblong frames were cut in half, inked and adhered as page tabs.


The little banners were narrow strips glued to a strip of paper.  The end of each strip was punched at an angle with a square punch.

The back cover page has plenty of space for journaling!