Showing posts with label rosettes. Show all posts

Saturday, November 3, 2012

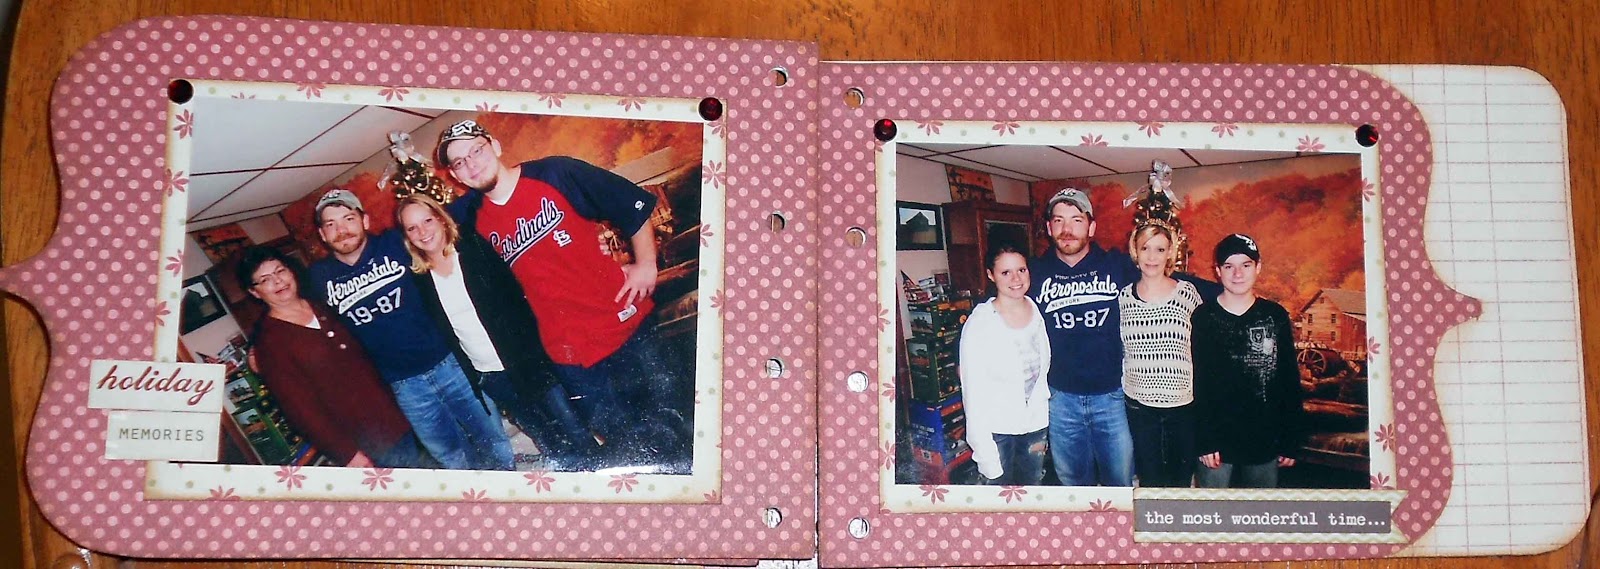
Teresa Collins Christmas Cottage Photo Album

Back today with another Teresa Collins project for the Bloomington Scrapbooking Studio!

This is really not a mini-book!  It is a photo album with a few embellishments on each page...It started with a Basic Grey chocolate album from a bargain bin at the Scrapbooking Studio in Moline!  I used five of the ten chipboard pages to create the album.

Each page was covered with patterned paper, then trimmed with a pen knife.

Chipboard and die cuts, Prima bling, a few banners, a rosette and some stickers adorn the cover.  Some of that beautiful red gathered tulle ribbon was tied onto the binding rings.


The inside pages are simply mounted photos with some journaling, gems from TC Fabrications line, die-cut and chipboard phrases and stickers.


and...a little trick I used to make it appear that every other page of the album was dark, light, dark, light:  The back page was the dark red with polka dots, so a piece of cardstock was hand cut as an edge for the back page, so that when the book is closed, there is more symmetry with the colors.  Yeah, I know, I am a little picky...


I hope this album inspires your next project!

Be Inspired!
Jules


Wednesday, June 27, 2012

CKC Technique Class - 2

Hello Bloggers!  Up today from CKC St. Louis
 is a layout done in the Techniques class with SEI Claire papers.  The technique here was paper-pleating.  When I got home with this one, I cheated and used my Tim Holtz paper rosette dies and the Big Shot  to make the pleated flowers!  I like the "neater" look achieved, rather than pleating the paper by hand!


 Here is a close-up of one of the flowers...


and the half-rosette over the photo...
All the pieces were chalked with Quick Quotes chalk ink in Pink Martini - sorry it's no longer available, but it sure did make the papers look great!

Some photos from my Son's wedding were added to this page - it went so well with the colors, don't you think?  And five of my six kids ended up on the page, too!  Bonus!

Also, I have to brag on my daughter in the turquoise dress, standing with her brother...she designed and made her dress, the other bridesmaids dresses and the bride's gown!  She's a pretty awesome talent!

Thanks for stopping by today!  Be Inspired!  
Jules

Monday, June 11, 2012

7 Gypsies Card

As promised, Bloggers, I am back with another 7 Gypsies post, courtesy of The Scrapbooking Studio!

I had a little fun with this one and made a banner from Spellbinders Banner Basics Three.  The card front is an index post card from the Postale line.


The rosette was stamped with a border stamp in Festive Berries Seasonal Distress Ink before assembly, topped with a button and scrapper's floss.  The sentiment was created with stickers from the sticker collection and mounted on a photo label punch.

Detail photo: 

Card inside, using journaling tickets and letter stickers from the sticker collection:                                            

Thanks for stopping by!  I'll be back soon with a layout using this great line!

Saturday, March 17, 2012

Little Yellow Bicycle Layouts

 Hello Bloggers!  Post number 2 of 3 for The Scrapbooking Studio/Moline here for you showing some more of the Little Yellow Bicycle and Maya Road product goodness I received to work with this month!  I just love this background page for these engagement photos of my son and now-daughter-in-law!  The page was actually designed around the great elements printed on the paper!
See that title lettering?  It started out as naked chipboard, painted white, then stamped with red Stazon using a flourish stamp.  Pins were added at each end of the title block for some added dimension.
                                                     A detail shot...
 The paper had a stitch pattern printed in white.  The red eyelets and red/white twine made it pop off the page and then I thought it needed "Two Tickets to Paradise" since it was their engagement, after all!
 The edges of the brown photo mats were stamped in Azure Stazon with a flourish stamp and the red and white paisley mat was corner punched for a little elegance...
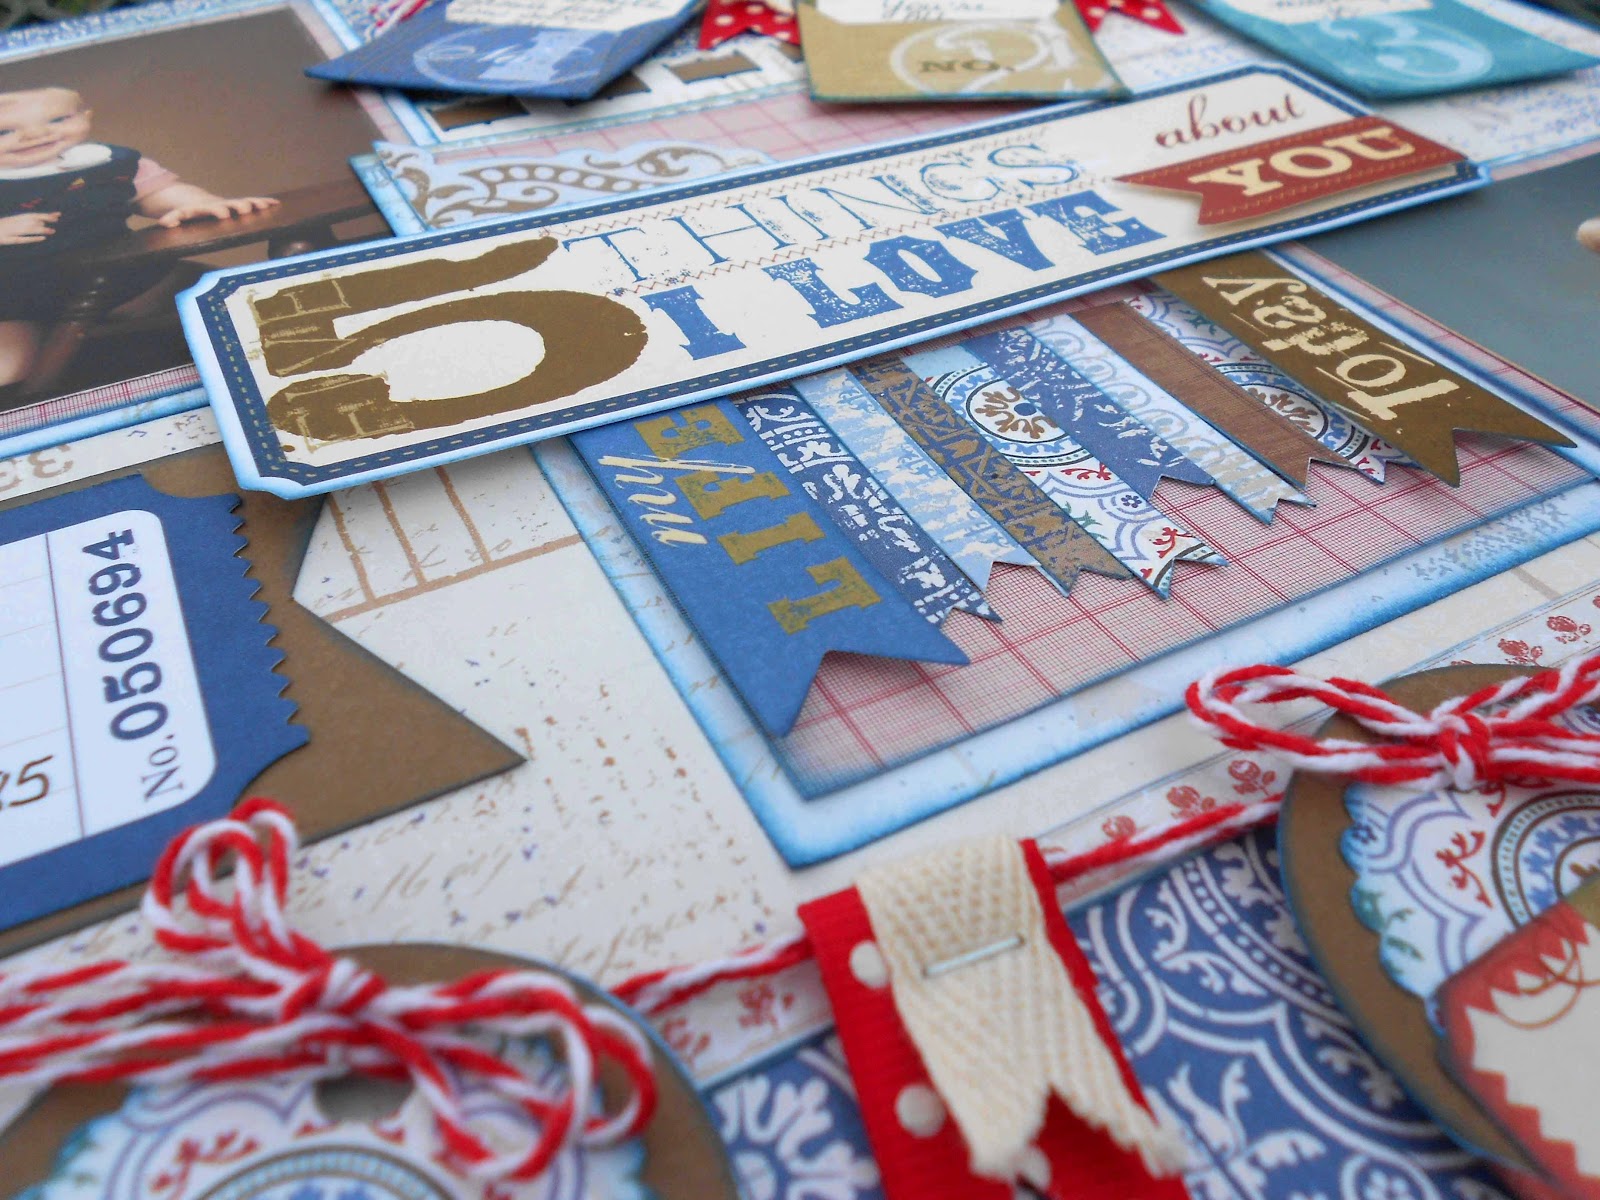
 The next layout was the same son as the layout above, only he was ONE YEAR OLD!   I loved working with the "5 Things" stickers and envelopes ~ they were so much fun and it gave me a great opportunity to express how I feel about him at this age.
 The envelope journaling stickers were just screaming to become a banner, so I figured out a way to make it work on the page.  The insides of the envelopes were plain white, so 1.75" circle and 1.5" scallop circle punches were used to layer brown and patterned papers onto the envelope flaps.  Ribbons were layered and stapled to the banner and added under the mini rosette, which was created with a 3/4" strip, scored every 1/8" then edge punched and inked blue.  The rosette was glued to a larger scallop punched piece and topped with a de-bossed circle sticker.
And lastly, a detail shot of the center treatment.

Thanks for stopping by today!

Be Inspired!  Jules

Thursday, February 2, 2012

Wedding Projects and hints for making them!

Welcome to my blog today! Today's photos are projects designed for my son and dil's wedding rehearsal and reception.
The rosette ribbons were decor for the chair backs at the rehearsal dinner.  They are quite large and "in your face," but fun and easy to make!  Bazzill card stock in Swimming Pool and Strawberry from my LSS, Scrapbook Dreams, were used.  The white is shimmery card stock from my stash.  The rosettes were made by hand with the Martha Stewart scoreboard (that was before the Cricut Ribbons and Rosettes  Cart was released!).  Once the rosettes were scored, they were punched with the scallop doily lace and heart lace edge punches from Martha and an EK Success scallop edge punch.  Tie the Knot Cricut Cart was used for the lettering and swirly hearts.  Satin ribbon was attached to the backs of the items to tie them to the chairs
 Now, onto the place cards.  Here's a hint for making these right, the first time!!  First, cut out the lettering in the sized needed, lay it out and figure the matting area (embossed on the Big Shot with a Fiskars heart embossing plate), then figure the dimensions of the tri-fold bases!                                                                                                      
Bride & Groom
 For the Lettering, the capital letters were cut with Tie the Knot cart and the remaining letters, with Plantin' School Book.  All the letters were laid out on my Gypsy to save paper.  Those Tie the Knot letters take up alot of space! Also, because Bazzill is not very Cricut-friendly (it has that layer of plastic in it), I set my Gypsy to cut twice.  It took a long time for the letters to cut, but the end result was worth it!  Make sure the mat is very sticky and the blade is sharp!

Notice that each place card is proportional to the length of each name.  I devised a formula to add an allowance for the punched edges,  to conserve paper "boo-boos!"  The corners of the white mats are rounded and have hearts from the the punched-out edges, with half pearls in the centers and string pearls through the punched heart lace.

I hope you are "inspired" by these projects.  Thanks for peeking in today!

Attendants

Monday, January 9, 2012

Cricut!

I am SO excited!  I just ordered the new Ribbons & Rosettes and the Fancy Frames Carts from Amazon. It will be so much fun to create with these!  Cannot wait till they get here!  Sorry for all the gushing, but I got a great deal on these!

Since I will be making rosettes, I am sharing a pre-Cricut rosette design.

The Bride, Groom  and heart flourish were created with the Tie The Knot Cart.  The rosettes were all cut with my trimmer and edge punched by hand.  Edge punches are still a great thing to have (and I do have ALOT of them!), but Imagine how much easier it will be to make things like this with the new cartridge!  BTW - these were hung on the backs of the Bride and Groom's chairs at the rehearsal dinner!  The cardstock is Bazzill in Pool and Strawberry(?) from Scrapbook Dreams.  The ribbons are from Michaels.

Hurry up, UPS guy! 
I am inspired! 
Jules